Hanging Owl Clay Project

photo 2-2 copy
*remember to refer to Clay Guide lines
Printable PDF: owl clay project
Hanging Owl Clay Project Tutorial
Supplies:
three sizes of circular imprint tools
wooden skewers
clay mat
9" circle template
small bowls for water
sponges (optional)
Prep:
Roll clay to 1/4 inch thick using clay roller.
Using needle tool or wooden skewer, slice into approximate 9” squares.
Students:

IMG_1302
Using needle tool or wooden skewer and circle template, cut out 9” circle of clay.
Carve name of student into back of circle using needle tool.
Using wet finger or damp sponge, smooth out edges of circle.
IMG_1305
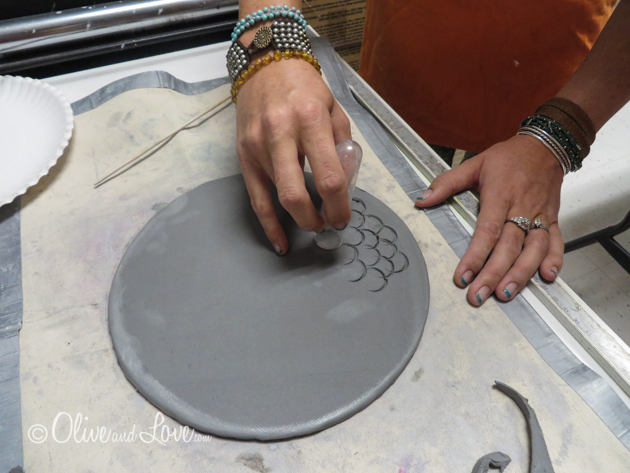
Bottle tops, cups, spoons, wooden tongue depressors, etc can be used to make impressions on bottom half of clay circle to create feather detail.

IMG_1306
Fold over both sides of the circle for wings, pressing down carefully into place (score and slip not necessary).
IMG_1308
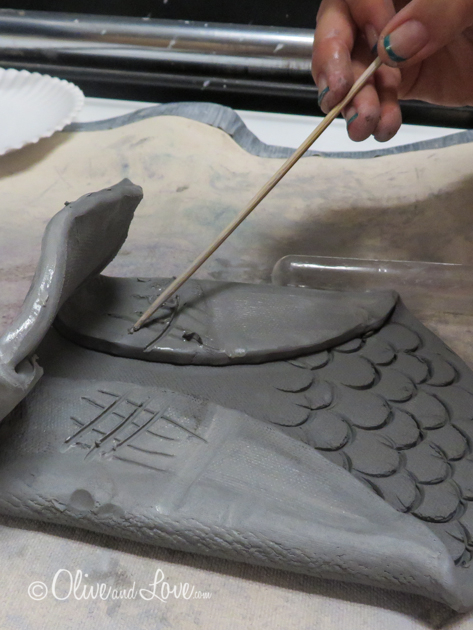
Fold over the top of the circle to create the head, scoring the clay and add a bit of water to create slip to help the two adhere together.
Option: Place dowel under head so that it dries with a hollow area to place hanging cord.

IMG_1312
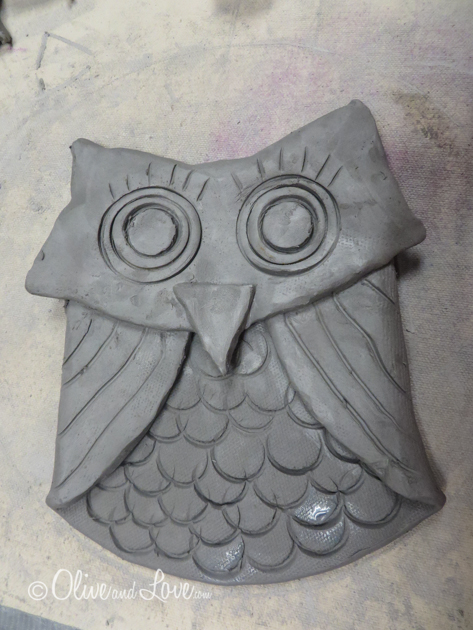
Add line details to wings.

Untitled-4
Using leftover clay, cut out a triangle for the beak. Score the back of the beak and the bird using the needle tool. Using wet finger, add water to scored bird head and wiggle beak into place until it feels firmly attached.
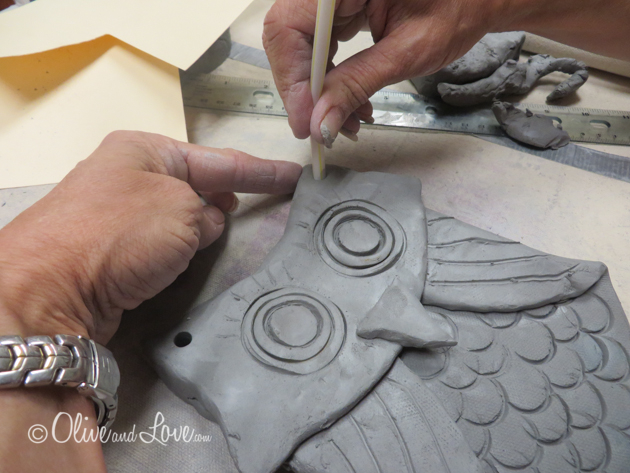
Use a larger circle texture tool (cup, caps, etc) to create eyes. Student can add smaller circle inside eyes for more detail.
IMG_1323
Slightly pinch clay to form ears.
Volunteers:
IMG_1360
Punch hole using straw in owl forehead or two on ears.
Glazing Option:

IMG_1454 copy
Recommendation for three rings of color on eyes:
Brush on color for center ring first and allow to dry (being careful not to get paint on outer ring, but don't worry too much about inner ring).
Brush on black glaze for center circle and allow to dry.
Brush on clear over outer ring, it will go on blue but will dry clear.
To achieve a blue glaze only in the feathered area:
Brush on blue glaze over feathers and let dry.
Wipe off using wet sponge, leaving blue glaze in grooves of feathers.
Brush on clear glaze over all feather area.
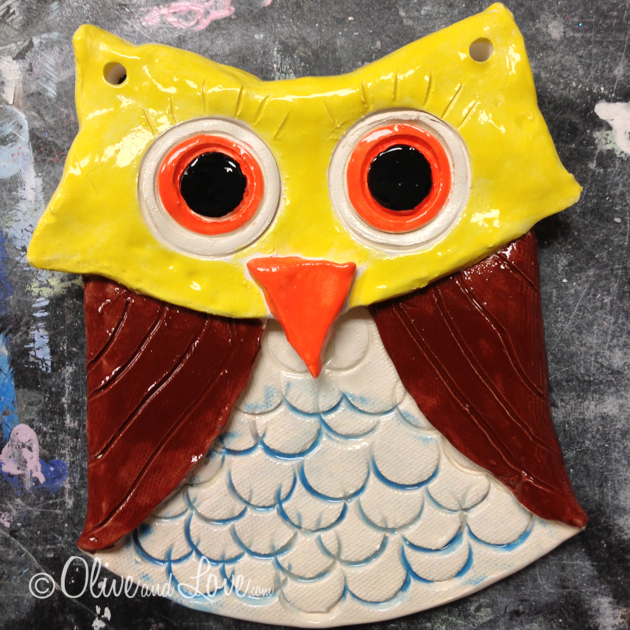
photo 2
Resources:
For Full Photo Tutorial: http://www.oliveandlove.com/?p=4351
http://tartteaching.blogspot.ca/2011/11/it-has-been-awhile.html
http://www.thatartistwoman.org/2011/06/how-to-make-clay-owl.html
http://artroomwithaview.blogspot.com/search/label/clay